Nothing beats the energy of getting a team together to deconstruct an existing design system and arrive at a component library together.
Participants get their hands dirty by cutting up page screenshots with scissors and then grouping, labeling, prioritizing, and archiving a candidate catalog of components your team can focus on.
This workshop is always the centerpiece when convening a group to learn about and/or kicking off an effort to create a library. It generates momentum, builds early consensus, enables teams to brainstorm together, and align groups around a common understanding of what’s next.
Invite anyone who will influence or benefit from the library. UX designers and front-end developers are critical. However, you’ll benefit from inviting other key stakeholders and potential champions too, for the workshop is a big event and generate momentum around the pursuit. Therefore, considering inviting QA, product managers, copywriters, project management, and even willing executive sponsors.
As you consider participants, you could:
To prepare for the workshop, organize and print out screenshots from the existing site and/or applications, or a sufficiently broad set of emerging concepts. From the home page to search results, product pages to checkout, tabular displays to multi-page forms, choose pages that represent the breadth of the experience. Most importantly, select pages which cover the range of potential components you anticipate for your library.
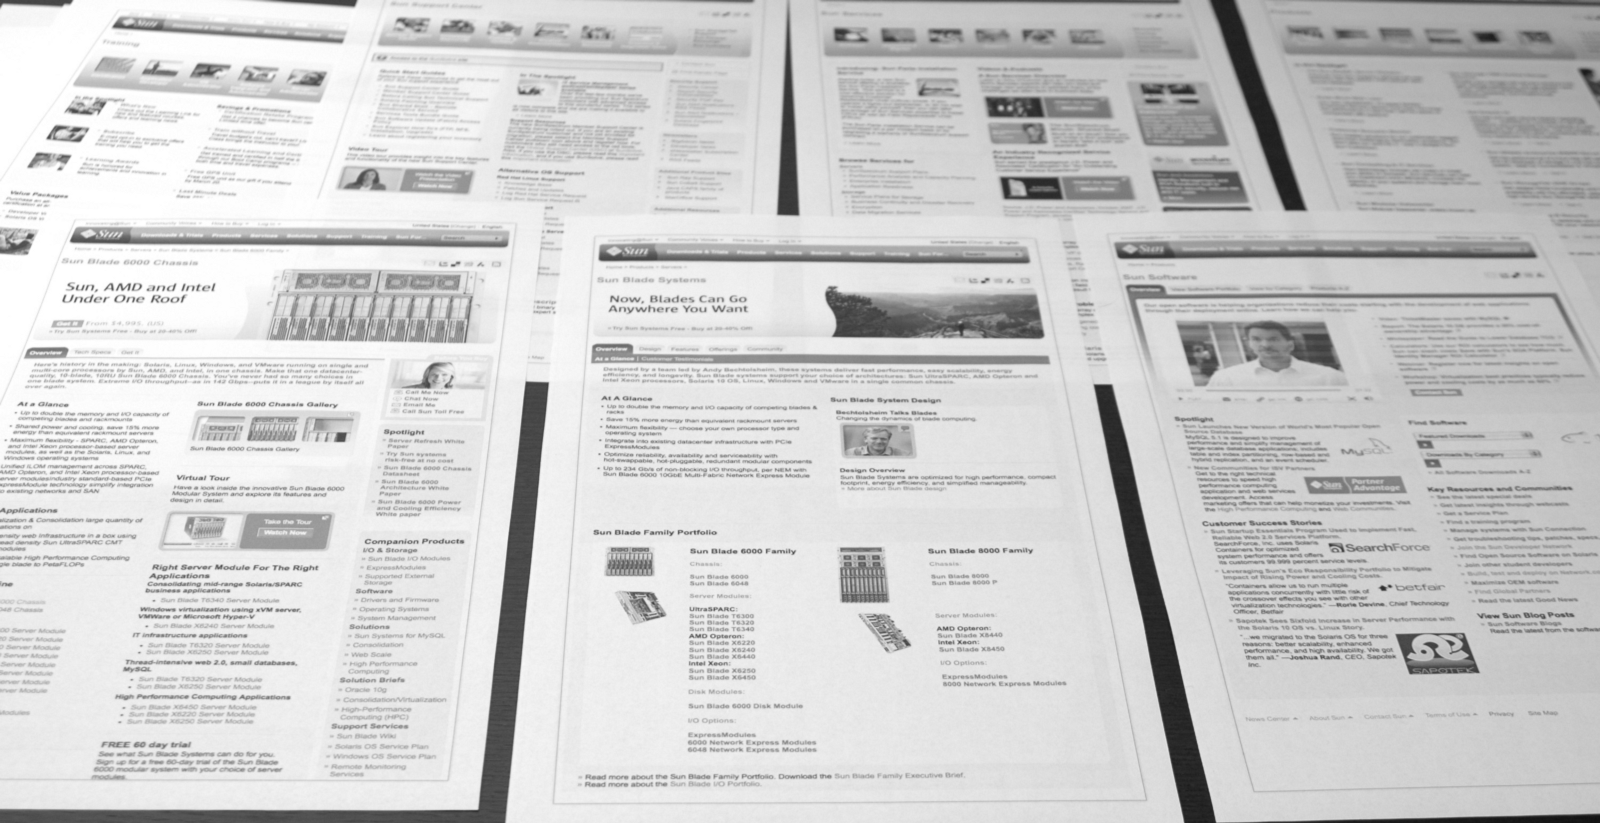
Each page should be printed on a separate sheet of paper — ideally legal size, portrait orientation to accommodate taller pages — and at the same relative resolution. Usually 80 to 120 pages are sufficient to get started for larger sites, but you can get valuable results using as few as 15 to 20 pages.
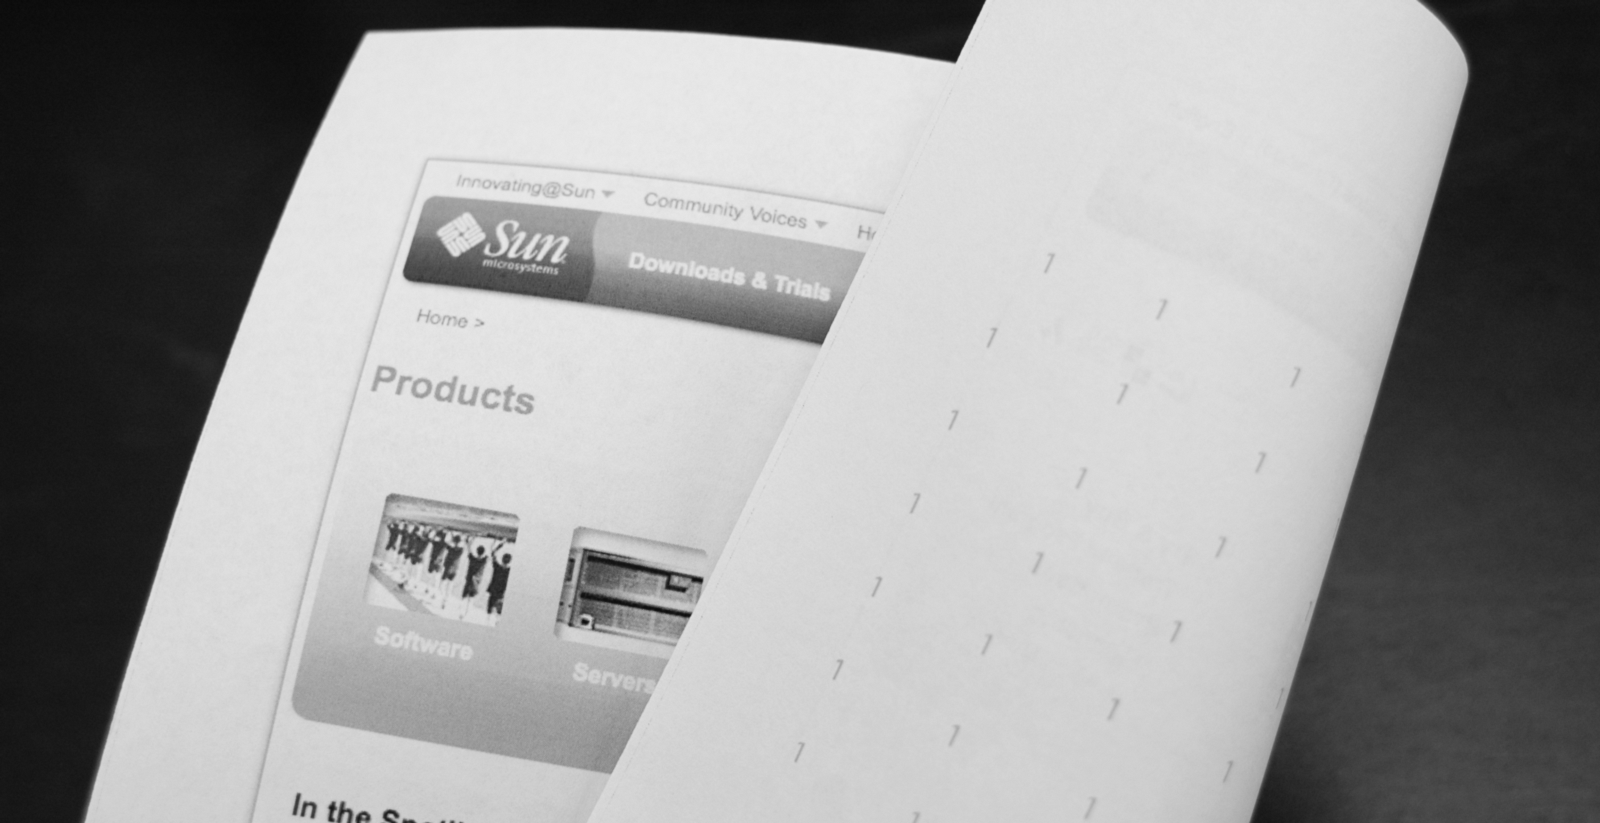
Once participants cut up pages into components, it’s painstaking and impractical to recall where the component came from unless you’ve got an easy way to trace the cutout back to its source. Therefore, assign each page a unique number and print that number small and repeatedly across the back of the page printout. We had a legal-sized PDF with preprinted numbers for printing the flip side.
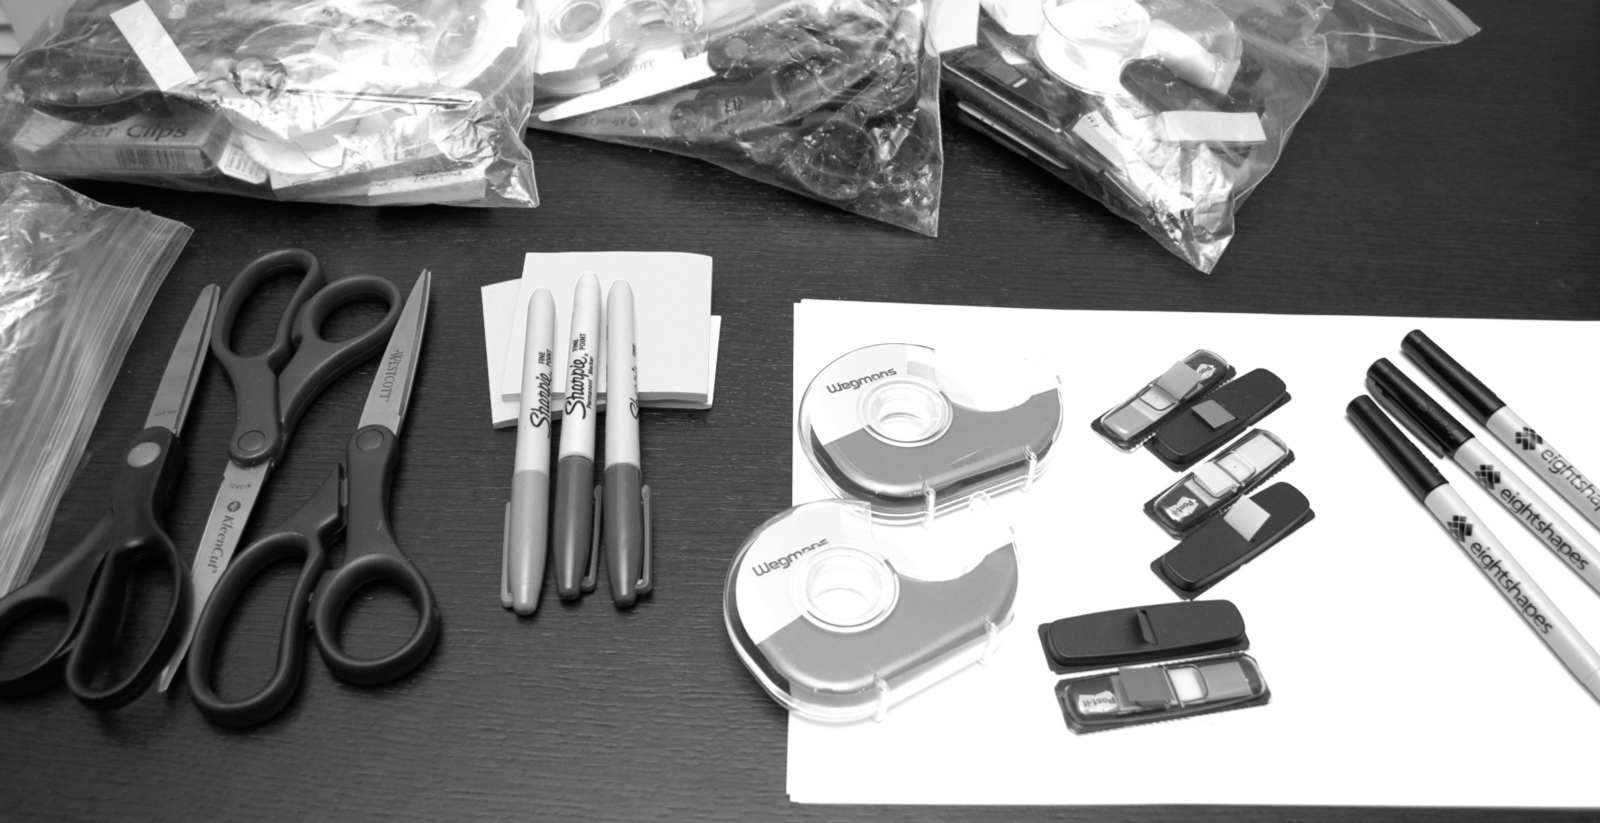
You’ll need to stock up for the workshop by purchasing scissors, Post-It® Notes, Post-It® Small Flags, sharpies large and small, scotch tape, and blank paper. Be sure to buy more than one item per team, so that participants don’t sit idly as a single person cuts everything with the only pair of scissors. Usually at least one item for every two participants is sufficient (such as three pairs of scissors for a team of six).
Encourage teams to review the pages to become comfortable with the scope of their collection and notice reused frequently components. Some teams spread out the pages across a table for a bird’s eye view, pondering for a minute before the begin to cut.

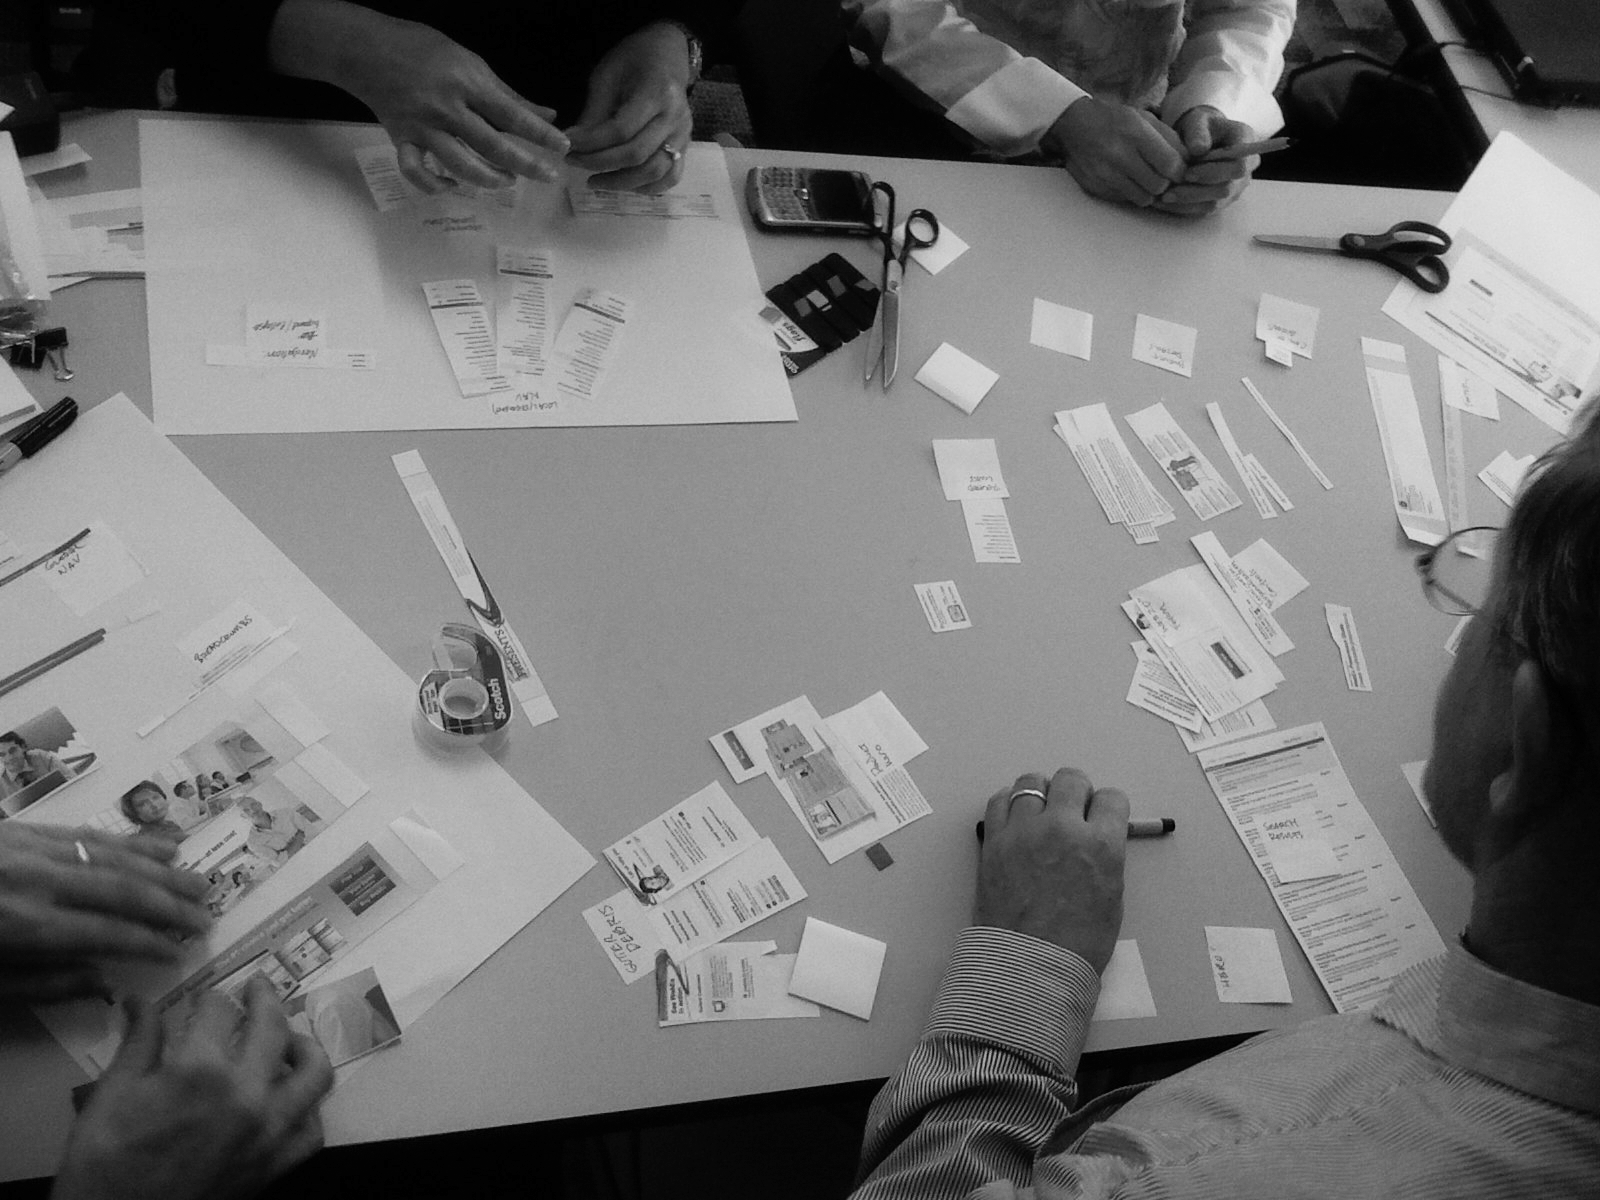
Participants cut up each and every page into components, separating each component on the table. During this stage, participants will often ask and need clarity on “how granular should I do cut this up: should it be this bigger section or just these few elements?”, and workshop leads can tips on how to cut each component and relate different variations of the same component.
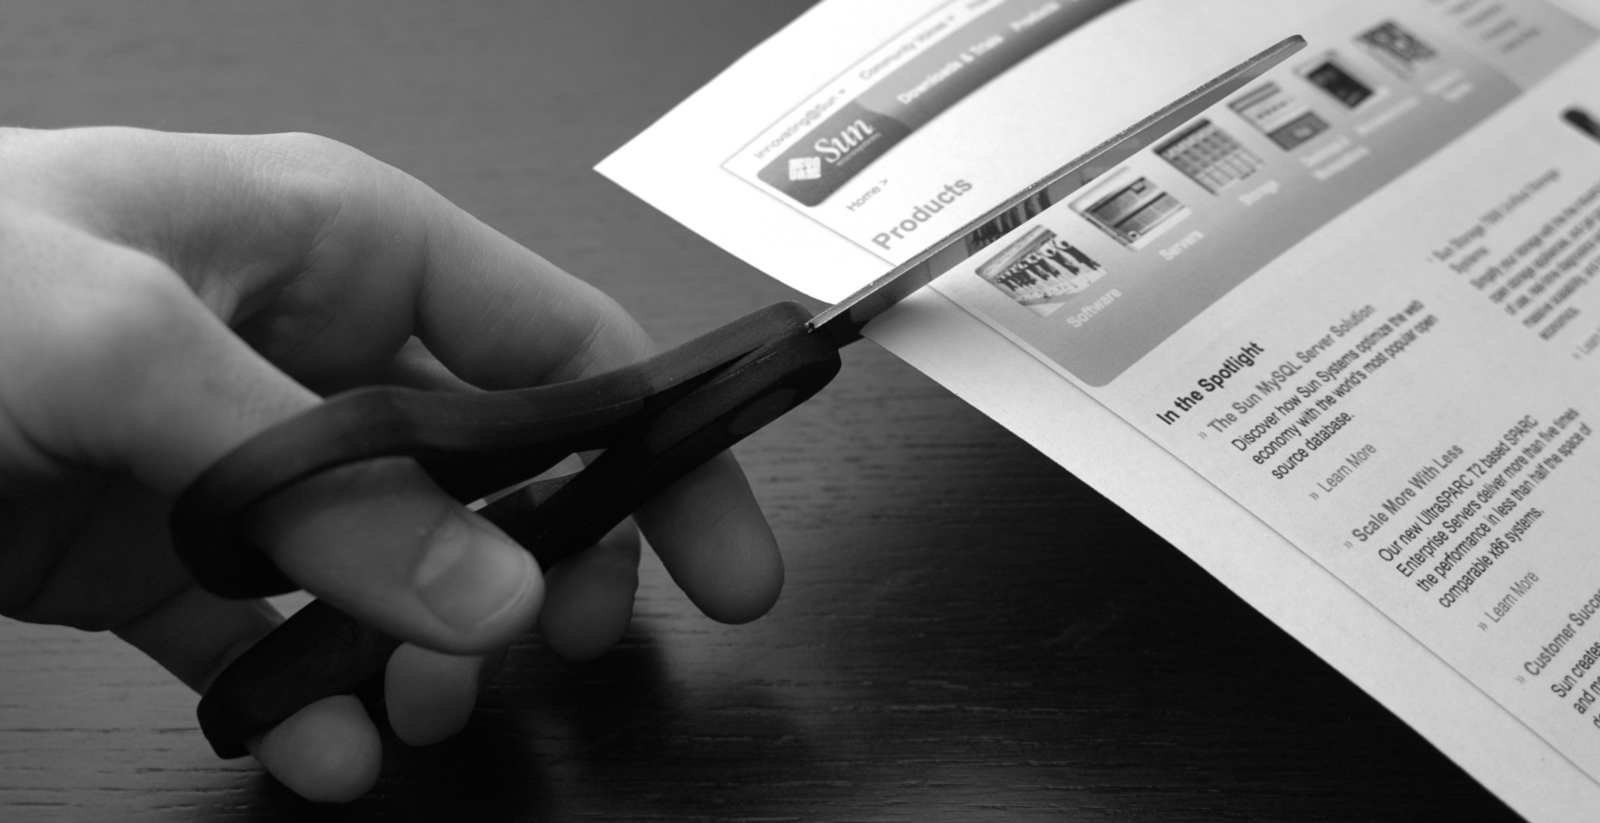
As duplicate and undesirable components arise (such as a common header on every page), crumple them up and throw them on the floor. Participants enjoy this the most, removing from contention examples of what not to do. Just plan to clean up the mess on the floor after the workshop is over.
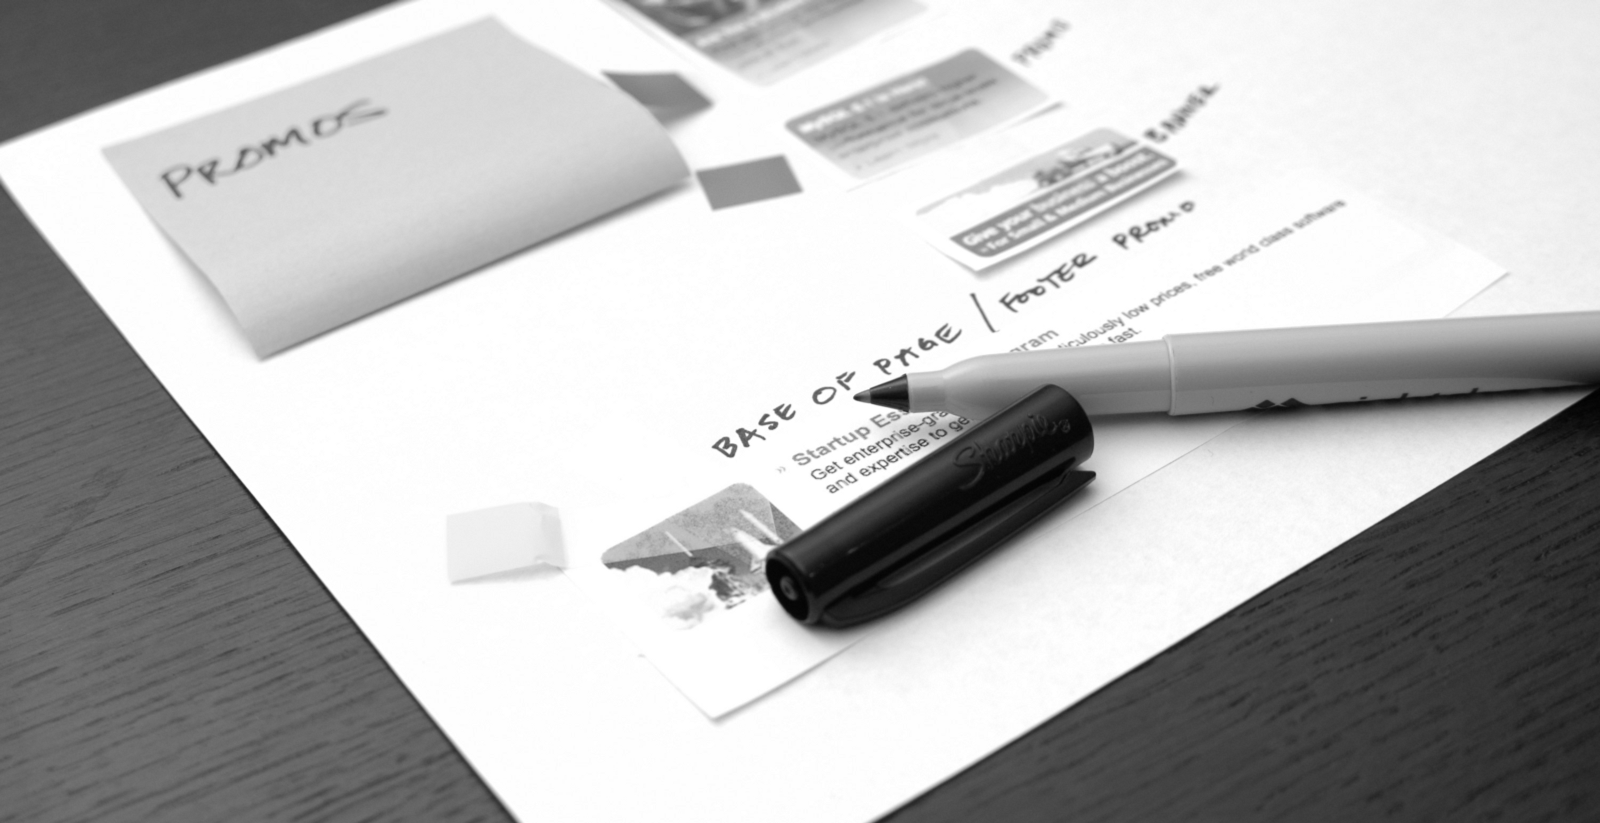
As pages are cut up, group components on the table. For example, header and footer components congregate in one area, all navigation components in another, and sidebar components separate too. Once all pages are cut out, teams should focus on grouping all components into meaningful categories before proceeding to archive and prioritize items.
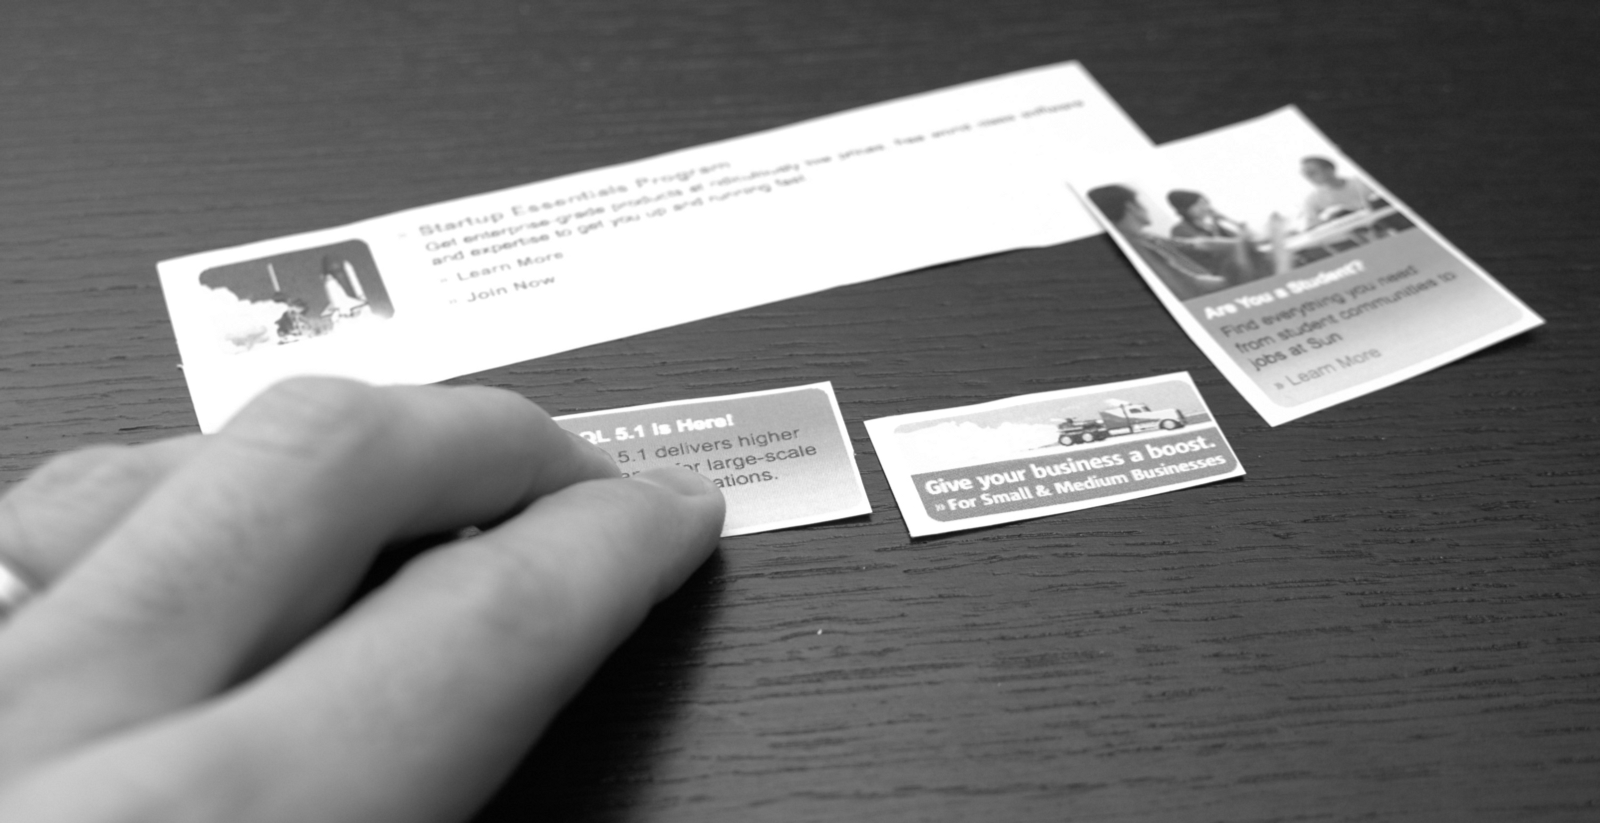
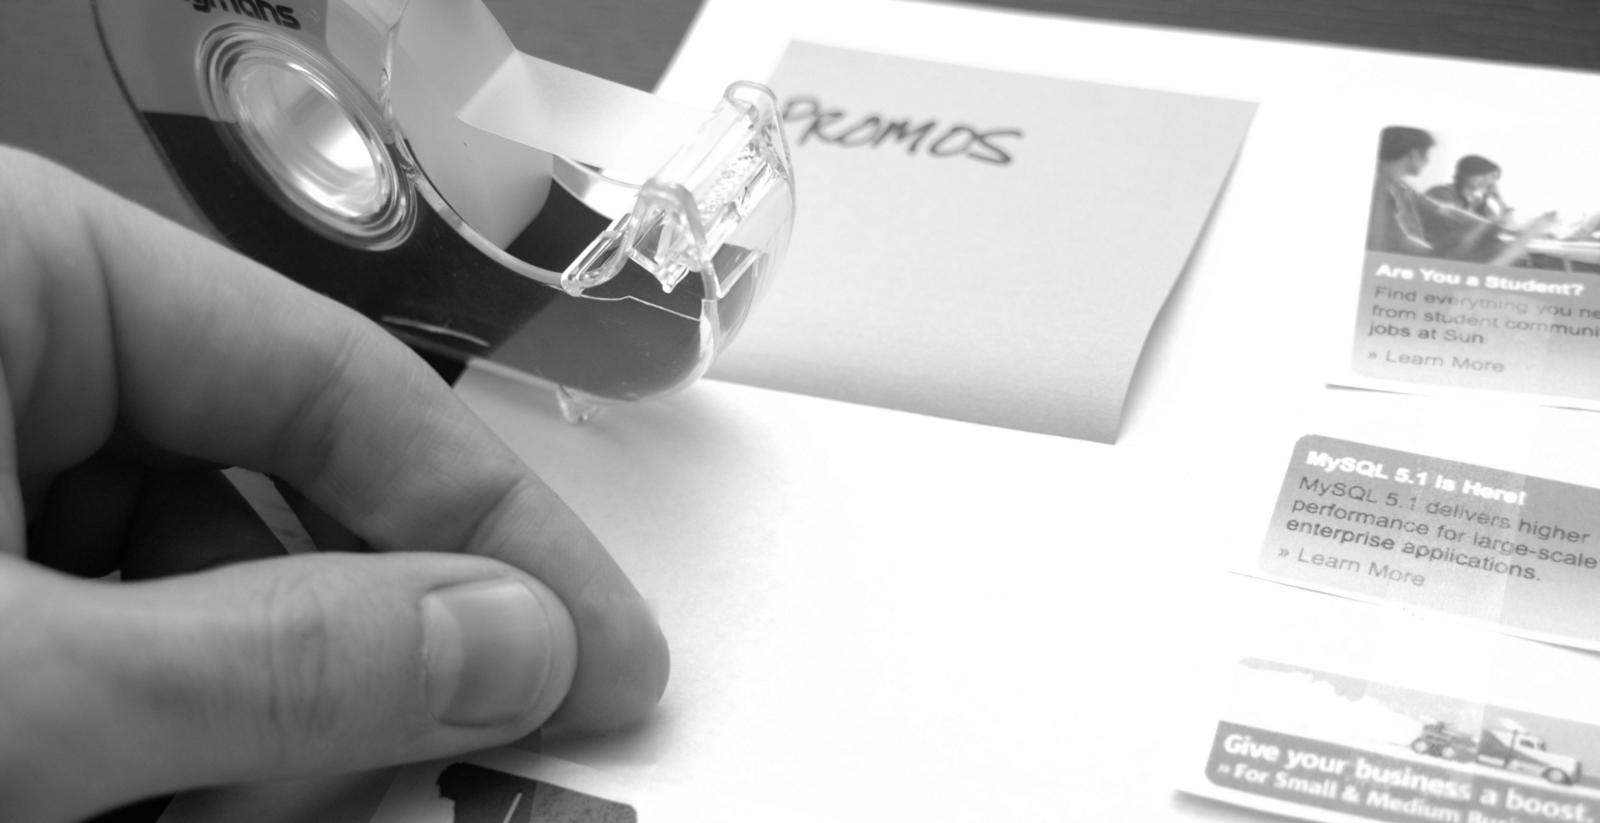
Use Post-It® Notes with big labels to name each of the groups you’ve formed, such as Header and Footer, Content, Navigation, Promos, and Sidebar.

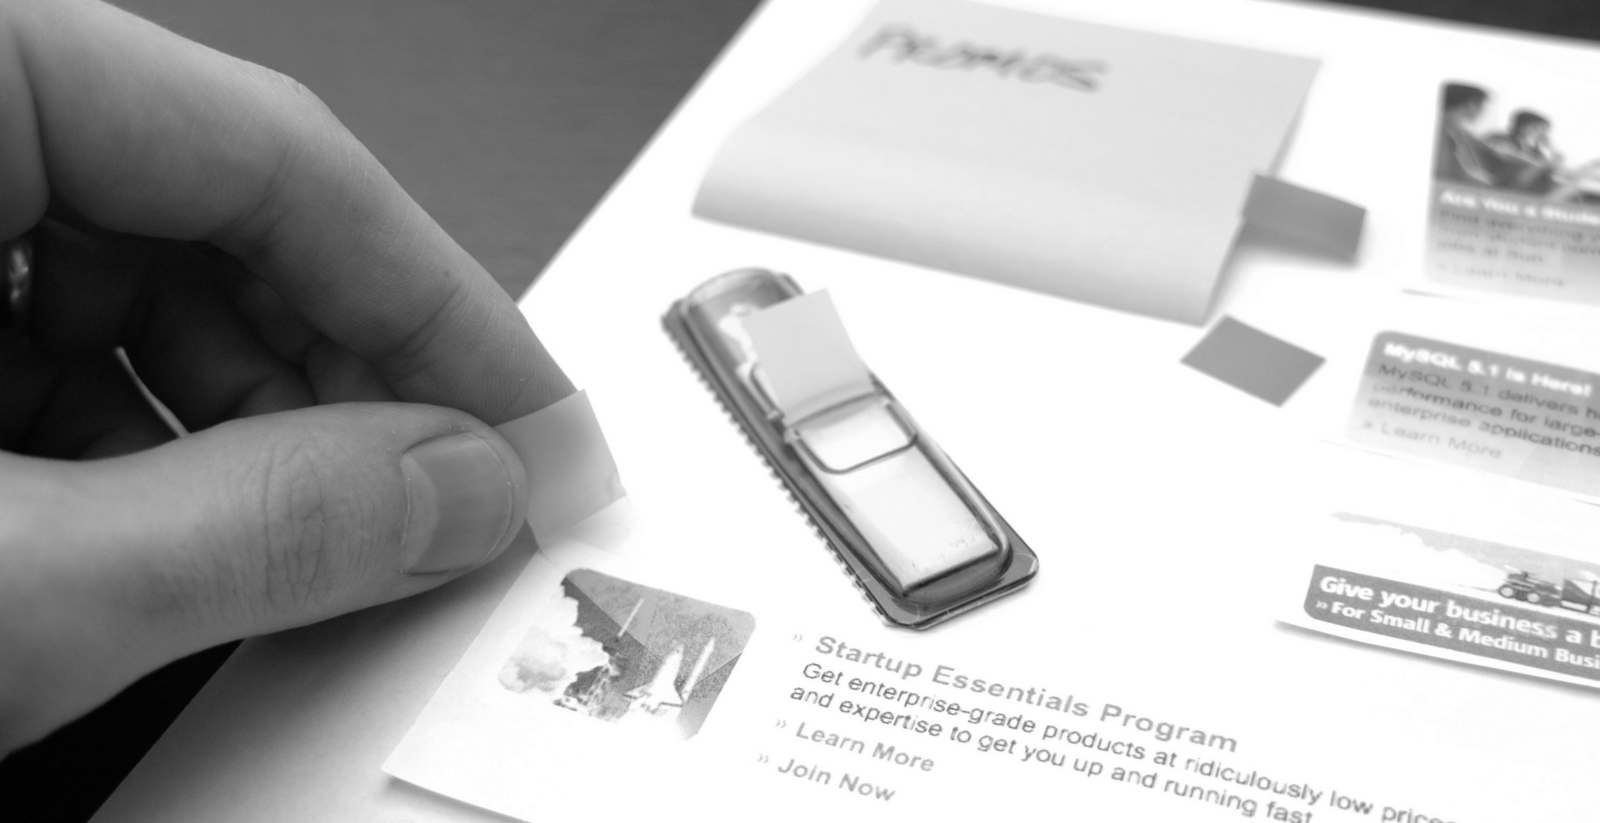
Teams often then tape components to plain pieces of white paper (ideally, tabloid size) so that library leads can walk out of the workshop with tangible, organized results.
Using Post-It® Small Flags, teams can also prioritize each component by importance. For example, green is “must have,” yellow is “nice to have,” and red is for “less important” candidates. Encourage participants to balance the quantity of each priority. If everything is green, then you haven’t prioritized anything.
Teams can use their remaining time to write common names used to refer to each component, such as “Base of Page” and “Footer Promo.” This step enables participants to discuss common terms used to refer to each item, informing the nomenclature of the formal catalog.
After the teams complete the steps, reconvene the entire group to
Discovering components together in a workshop setting can be an enlightening experience. Some teams react with lots of enthusiasm, as the workshop demonstrates how they can modularize and reuse aspects of their design system. Others guard their optimism, correctly perceiving the constraints that standards and libraries could place on their design freedom.
Most of all, use the workshop setting — component cut outs, tactile tools like scissors and Post-Its, and discarded paper littering the floors — to signal how what’s next will require the group to roll up it sleeves. Investing in a library requires rigor, investment, and determination to stick with such a set of standards, and you’ll need to communicate the scale and scope they should expect.
EightShapes can energize your efforts to coach, workshop, assess or partner with you to design, code, document and manage a system.